
A while back someone from church asked on Facebook if anyone could help her. She needed roman shades for her boys' bedroom.

She had the fabric.
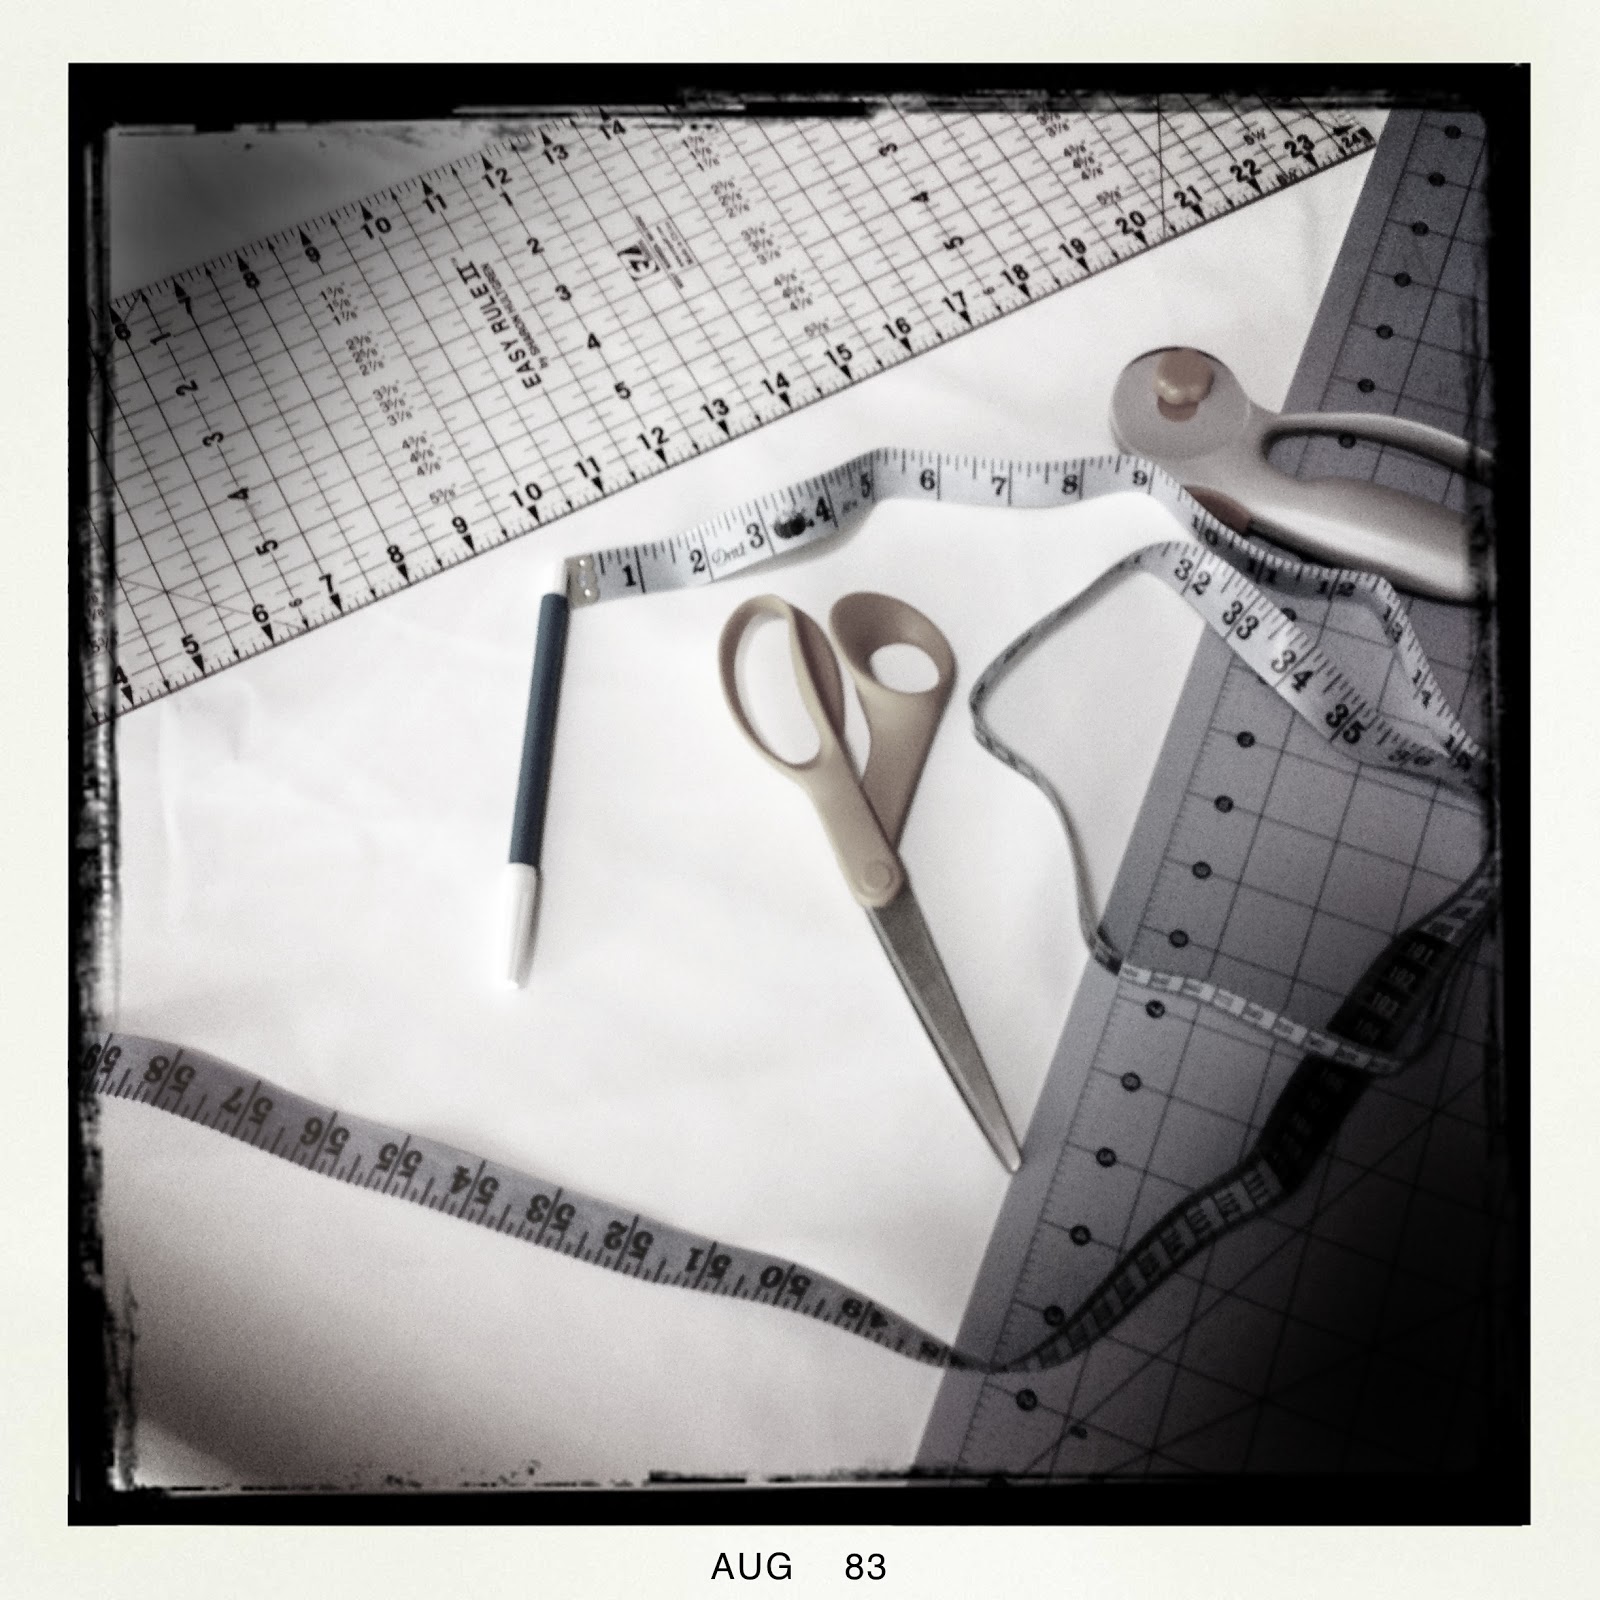
I like making roman shades, I had the tools, and I really do not mind helping if I can, so I offered to help. I turned into a big project. I used Martha Steward's instructions, in this book.
This is not a tutorial. It is simply pictures I took to remind me how I did it, because it turned out so well.


There were two windows, one was 34 inches wide, the other 58 inches. I decided to make the 34" wide shade first. I had no idea how to make a very wide shade.

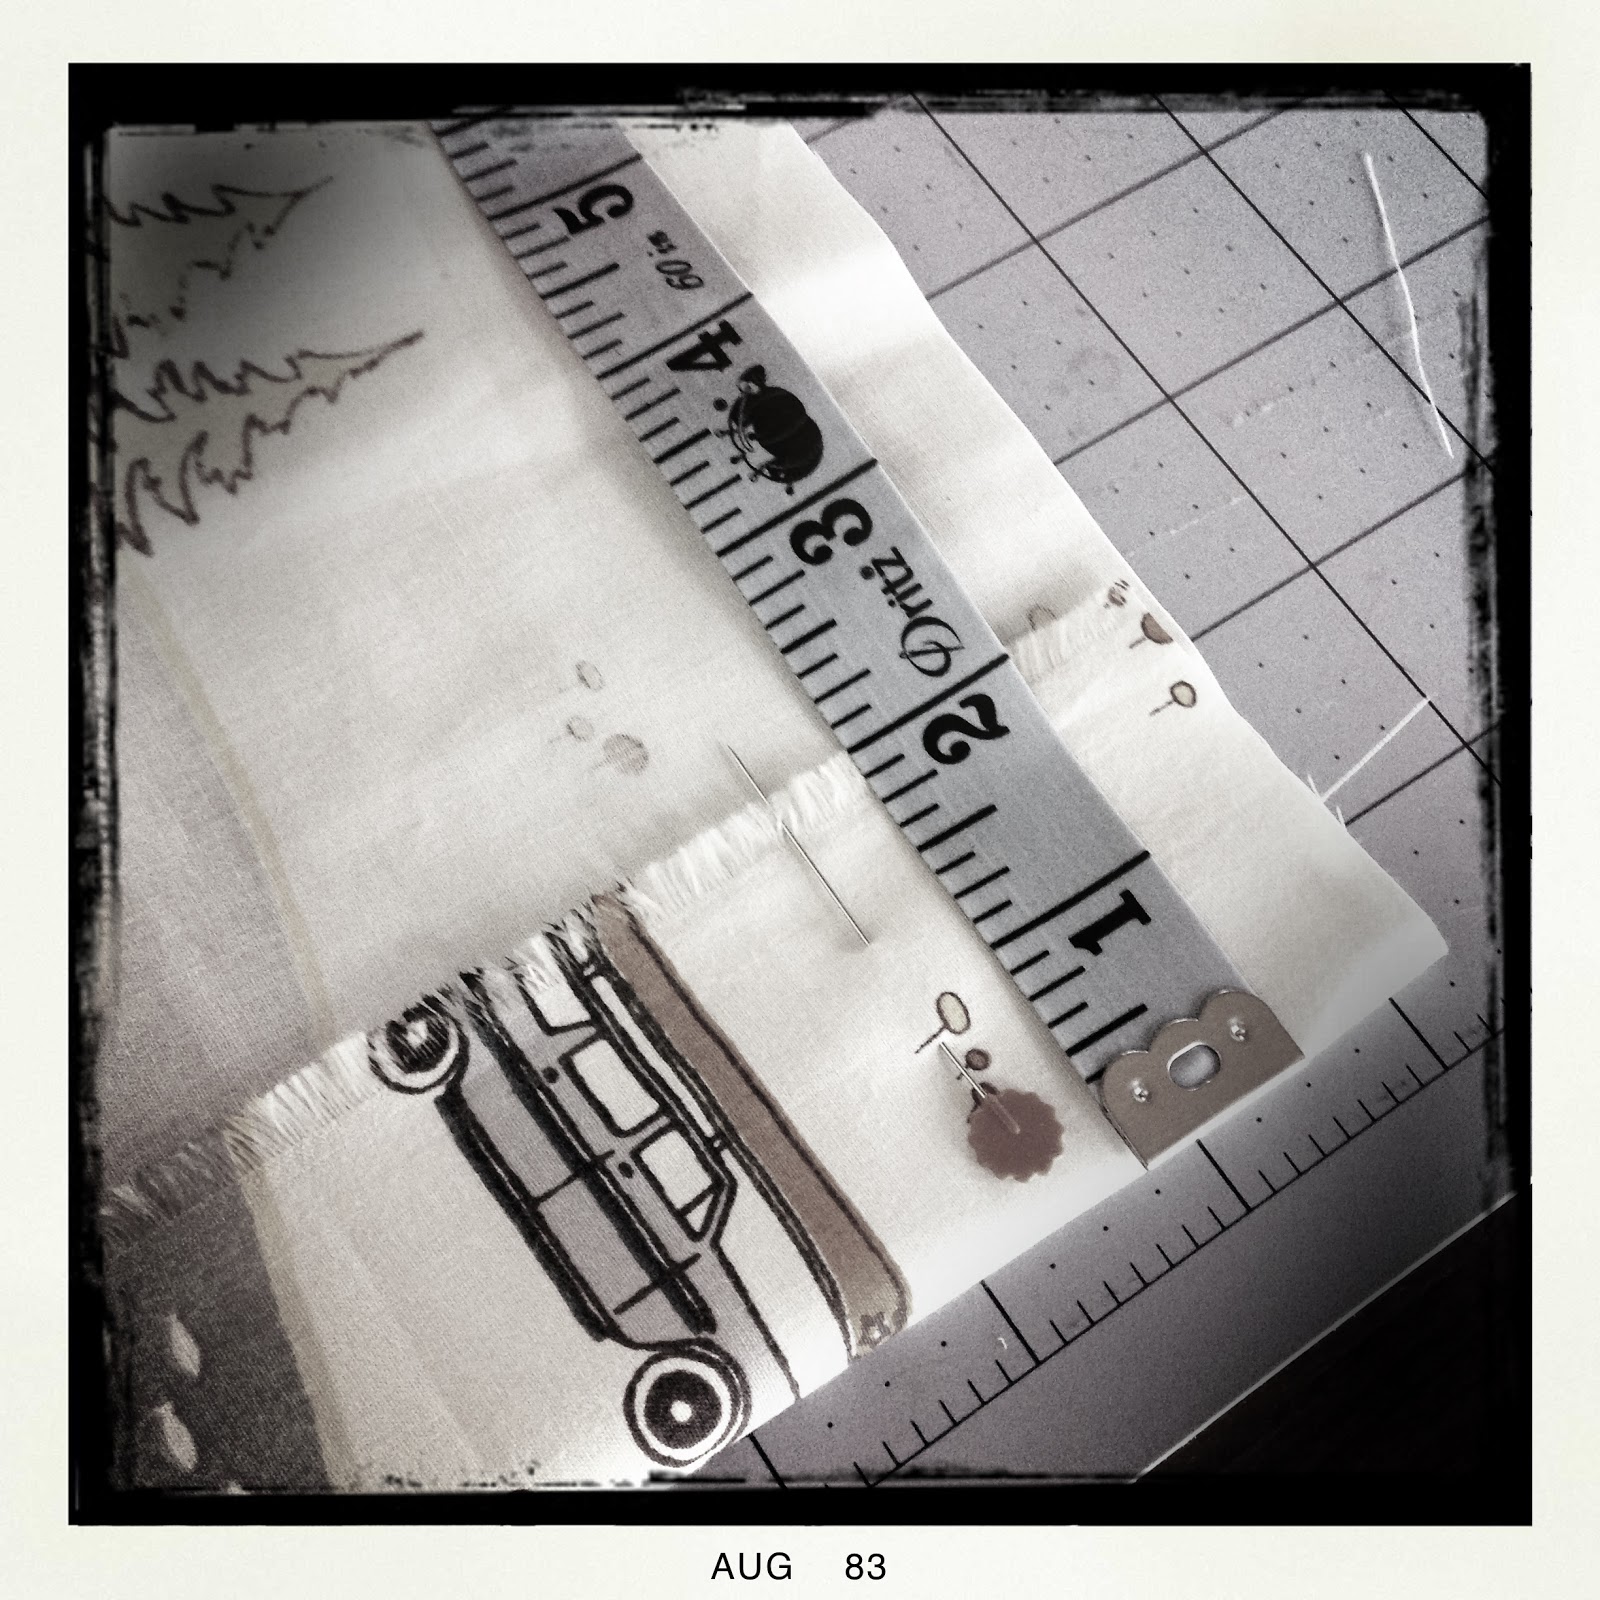
I cut the fabric 3.5 inches wider than the window measurement.
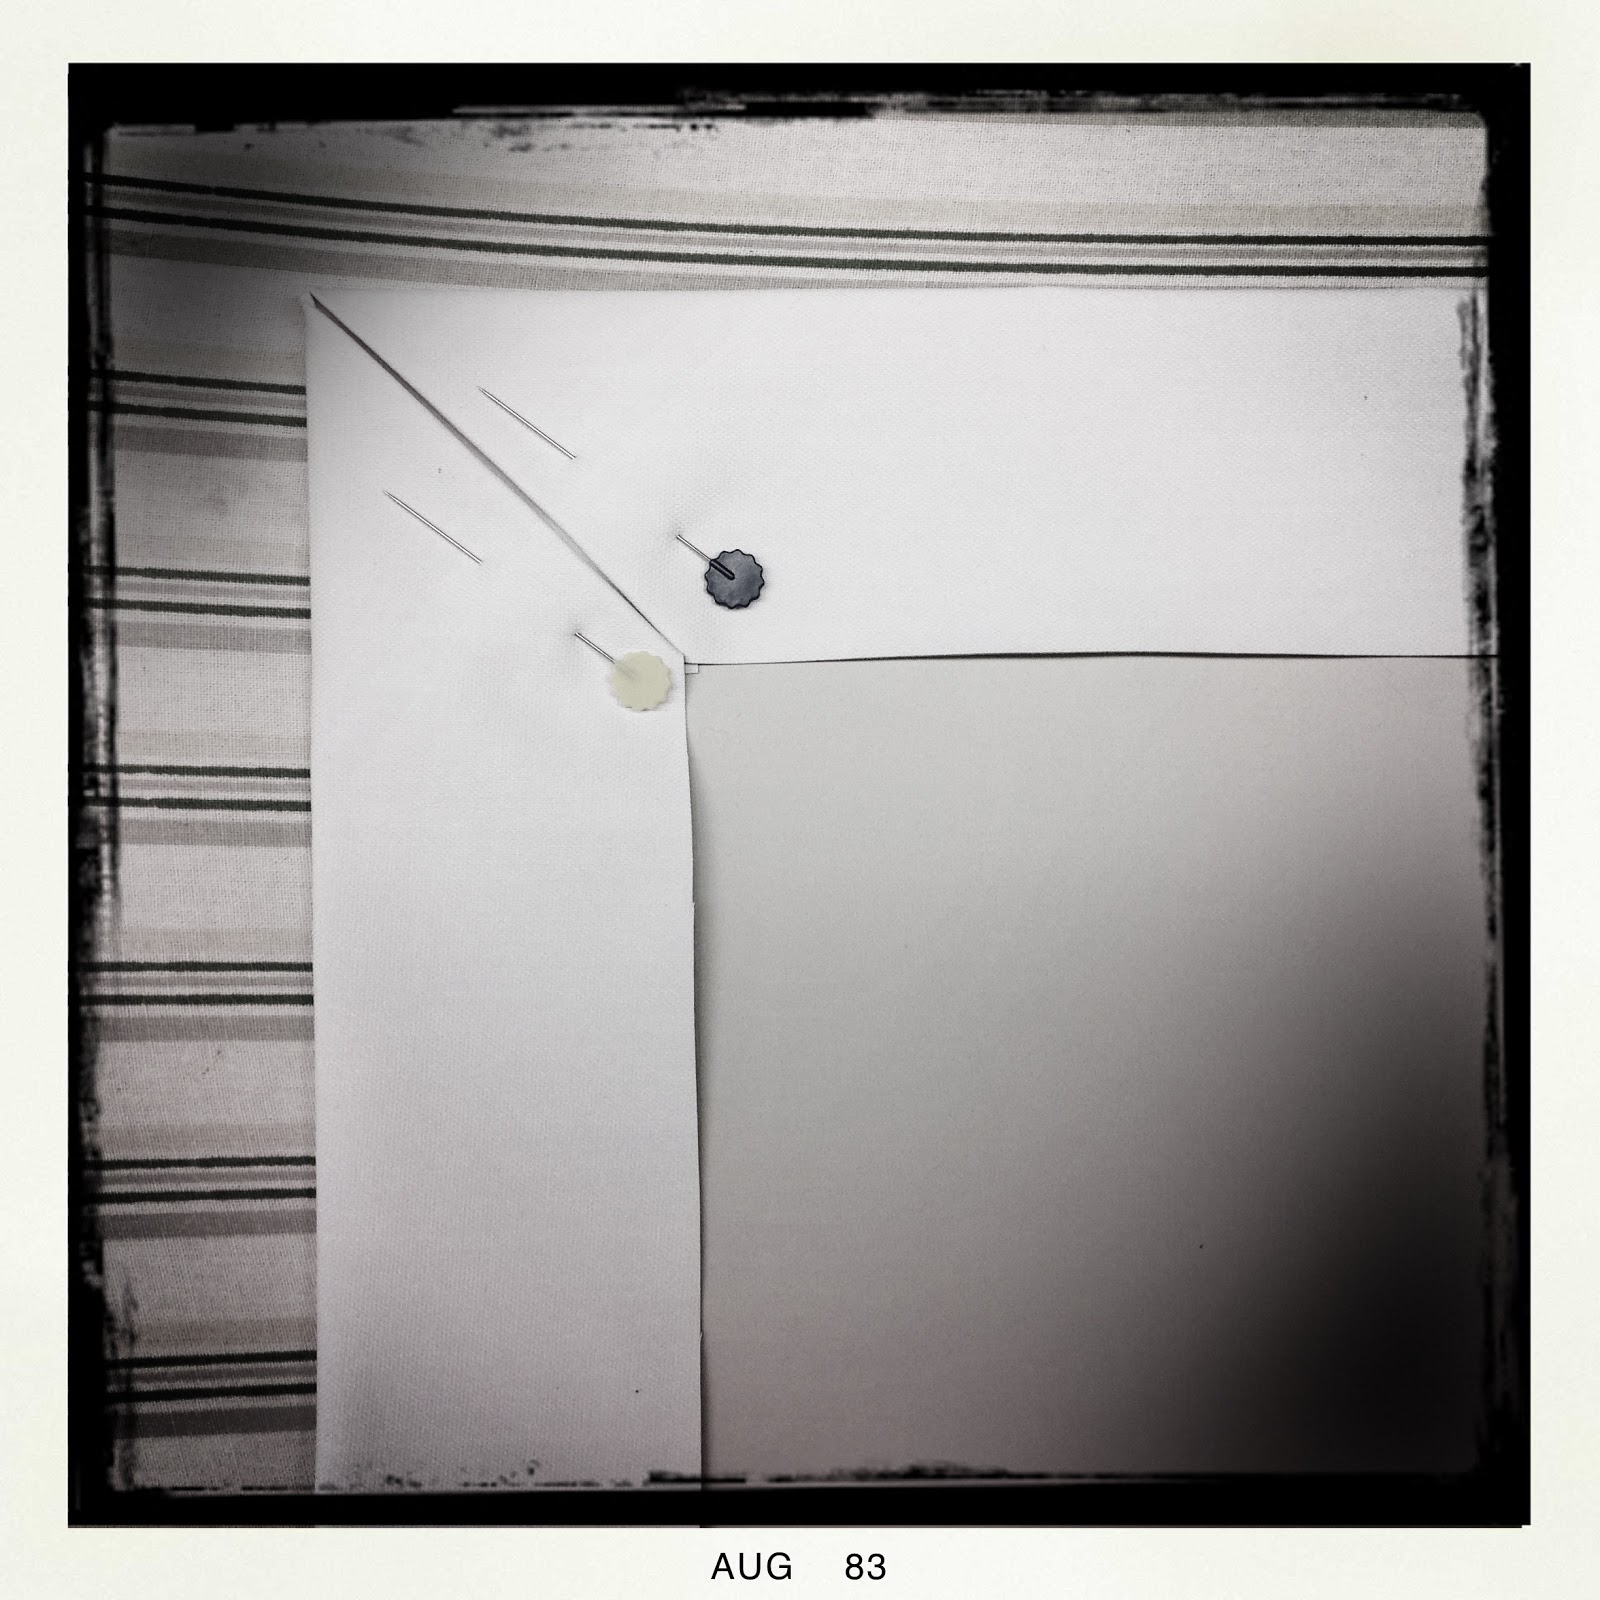
I folded over the sides, and pinned them down.

I folded the bottom edge up, too.
Pinned, ironed and set aside.

Then, I cut the black out fabric, and folded it over 2 and 3/8ths of an inch, at the sides and at the bottom edge.

Ironed, and set aside.

I had to make the little fabric tubes for the dowels. I cut fabric strips 4 and 3/4 of an inch wide.


I folded them in half, and ironed them. Folded the open side over, twice, to form a little seam about 1/4 of an inch wide. It looked like this:


I had a tube.

I needed 5 tubes.


I mitered the corners of the print fabric.


I stitched around the print fabric.
I mitered the corners of the black out fabric.

I put the black out fabric on top of the print fabric, wrong sides together, invited a friend over, and hand stitched the black out fabric to the print fabric while we talked. You could do it in silence, but it is really more fun when you have company.

Finally, done! The kitten came to inspect.

Later, I pinned the tubes to the black out fabric, and sewed them in place.


Like this.

I got to play with some of the tools I bought after studying Occupational Therapy, convinced that I would need them frequently. (Staple gun, hole punch and pinking shears)

I attached plastic rings to the tubes, and threaded the dowels through the tubes. Those were the only "cord pulls" I could find, very cheap and plastic, but better than a naked knot.

And likewise, the cord cleat was plastic and cheap - I did not get to install it, my friend did the installing by herself.

Those eyelets were easy to screw into the wood (2x1) by hand.
I did not take a picture of the finished shade, because many things were happening at once. (I was also sewing a picnic blanket for a wedding present, and a long promised quilt for one of my boys.) I wish I did take a better picture of the end product, but the problem is, it looked very much like just a piece of fabric from the outside.
Hope you are well, I miss you!